








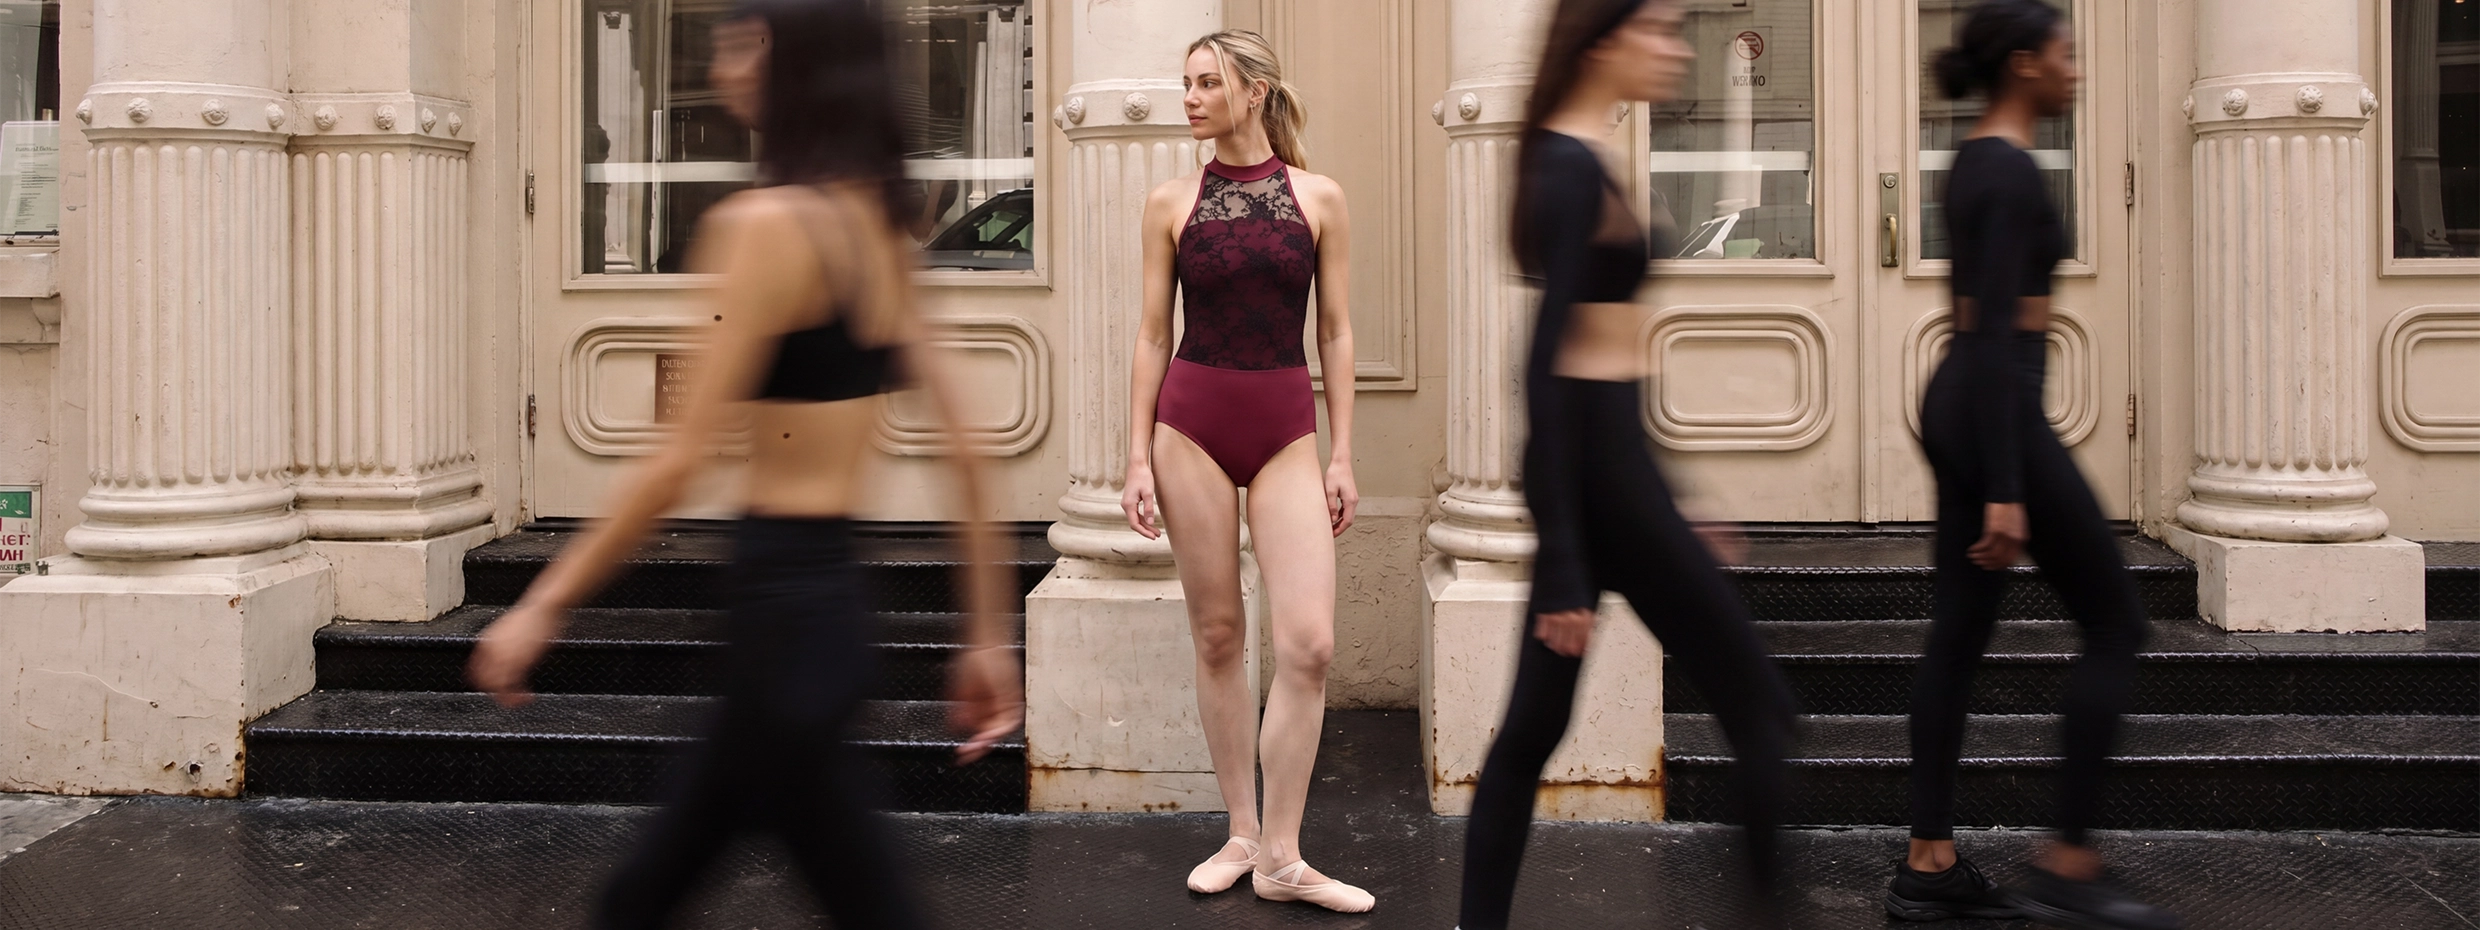






You've just opened a new pair of ballet shoes, and something seems to be missing: the elastics. Don't worry, nothing is wrong. Many ballet shoes come without elastics (or with them loosely attached) because the best position depends on your foot. Sewing them yourself takes about 15 to 20 minutes, and you only need a couple of basic hand stitches.
This guide walks you through it, from choosing a style to checking the finished result.
Why ballet shoes need elastics
A ballet shoe has nothing holding it in place except your foot. Elastics sit across the top of your foot and keep the heel hugging your heel, so the shoe doesn't slip off when you point your foot, rise onto demi-pointe, or move across the floor. Placed well, you'll barely notice them. Placed badly, they'll pinch, slip, or pull the shoe out of shape.
Single or cross elastics: which should you choose?
Single elastic: One strap that runs across the top of your foot. It's the simplest to sew and a good default for most beginners.
Cross elastics: Two straps that cross over the top of your foot, forming an X. They usually give a snugger, more secure hold, which some dancers prefer if their shoes tend to slip at the heel.
Neither is "more correct." If your teacher or studio has a preference, follow it. Otherwise, pick whichever feels more secure on your foot.
What you'll need
- Flat elastic (often included with the shoes or sold in ballet shoe sewing kits)
- A sturdy needle
- Strong thread in a color that matches your shoes
- Pins or a safety pin
- A pencil or tailor's chalk
- Scissors
Before you sew: check the fit first
Put the shoes on and make sure they fit properly before any thread goes in. They should feel snug, like a sock, without pinching your toes or slipping at the heel. Once you've sewn on elastics, the shoes are considered altered and often can't be returned, so it's worth being sure.
How to sew a single elastic
- Find the spot. Put the shoe on and fold the back of the shoe down toward the sole, like you're pressing the heel flat. Mark with a pencil where the fold meets the edge of the shoe on each side. These marks show you where the elastic will attach.
- Cut the elastic longer than you think you need. You can always trim it later, but you can't make it longer.
- Sew the first end. Fold the end of the elastic under about a quarter inch for a neat finish. Hold it at your mark on the inside of the shoe and stitch it in place through the elastic, the lining, and the binding (the finished edge around the opening). Avoid the drawstring, and try not to stitch through the outer layer so the stitching doesn't show on the outside.
- Mark the second end. Put the shoe on, pull the elastic across the top of your foot, and pin it where it feels snug but comfortable. Mark the spot.
- Sew the second end. Take the shoe off, fold the end under, and stitch it the same way. Trim the extra length.
- Repeat on the other shoe. Try to match the placement so both shoes feel the same.
How to sew cross elastics
- Put the shoe on and pull one piece of elastic over the top of your foot toward the opposite side of the shoe. Pin it where it feels snug and mark both ends with a pencil.
- Repeat with the second elastic so the two cross over your foot in an X. Check that both sides feel even.
- Take the shoe off and stitch each end in place, using the same stitching as the single elastic.
- Try the shoe on again and trim any extra elastic.
- Repeat on the other shoe.
A stitch that holds
- Use a doubled thread, or a strong thread, so it doesn't snap with repeated stretching.
- Sew small, tight stitches in a square shape, then add a few stitches diagonally through the middle for extra strength.
- Finish with two or three knots on the inside, and trim the thread tails.
- Always hand-sew. A sewing machine can damage the shoe's delicate material.
How to tell if they're right
Sit down, extend your leg, and point your foot. Then flex it. A good elastic:
- Holds the heel close to your foot without lifting or slipping
- Feels snug, but doesn't dig in or leave a deep red line
- Doesn't make your toes tingle or feel numb
- Looks even on both sides
Common mistakes
- Too tight. It feels secure at first and sore halfway through class. If the elastic is cutting in, unpick it and re-sew a little looser.
- Too loose. The shoe slides when you point. Move the end slightly closer to the center of your foot and re-sew.
- Uneven sides. Mark both shoes while you're wearing them, not by eye.
- Mismatched thread. Matching the thread to the shoe makes any stitching nearly invisible.
- Skipping the fit check. Check the size before sewing, not after.
Quick questions
How long does it take? Most people finish a pair in about 15 to 20 minutes the first time.
Can I use a sewing machine? We recommend sewing by hand to protect the shoe.
What about pointe shoes? Pointe shoes use ribbons as well as elastics and are placed differently. Ask your teacher or a professional fitter to help with your first pair.
What if my shoes already have elastics? Check the fit. If they feel right, you can leave them. If not, you can unpick and move them.
Final thought
Sewing your own elastics is a small ritual of ballet, and a quick one. A little care at the marking stage pays off in every class that follows.
Need a new pair? Explore the SLÉMON Ballet Shoes collection, or visit our FAQs for sizing help.


